


Description
Shipping and Delivery
- 3-5 Days Free Shipping
- 14 Days Return & Refund Service
- More about Delivery >>
Tutorials
MOZA Air ‘Move-Shot-Move’ system for advanced motion time-lapse. The MOZA Air and MOZA Assistant work together to control shutter interval and shutter duration. The MOZA Air will hold the camera still actuate the shutter before it moves the camera for another shot. With long exposure time-lapse, you can a star motion time-lapse video or any other kind of night motion time-lapse.
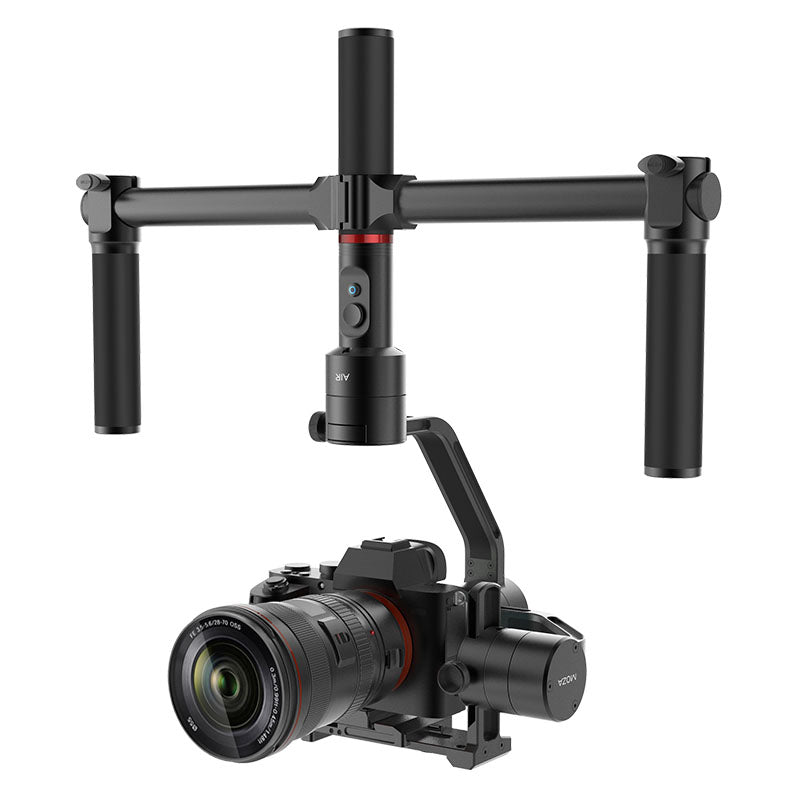
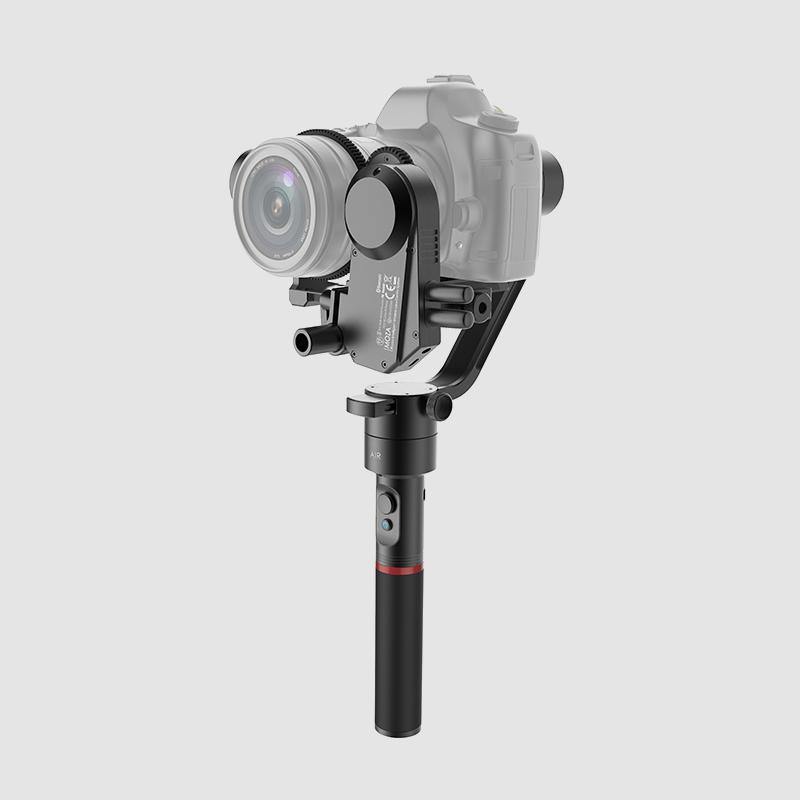
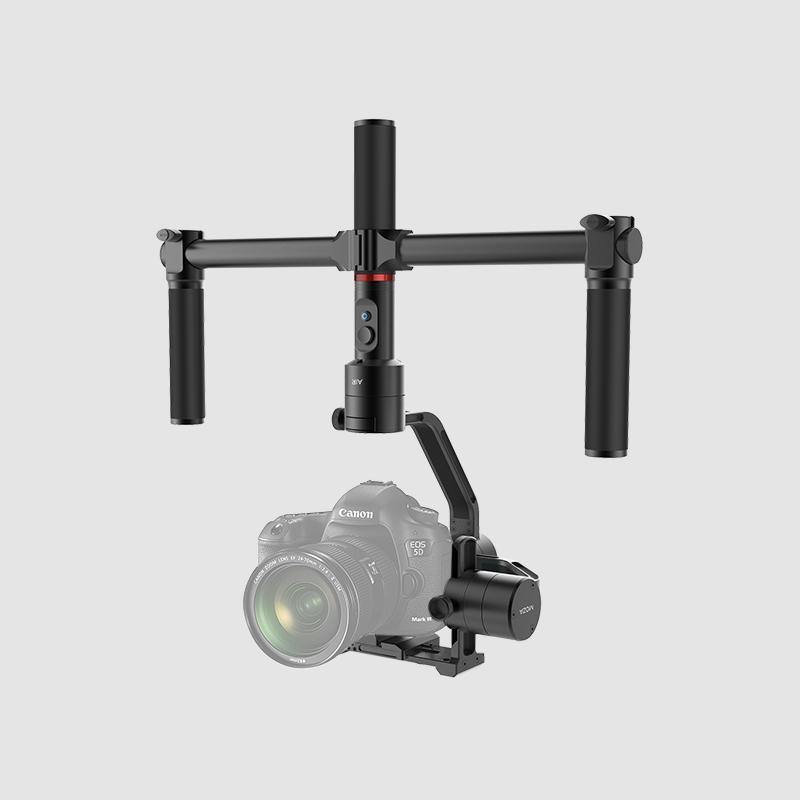
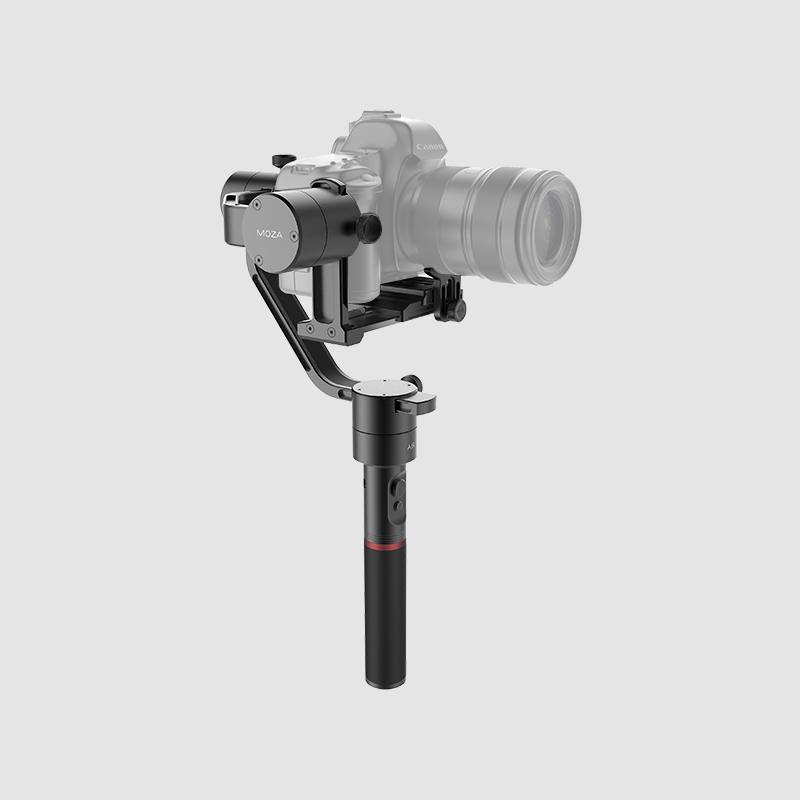
Supported Cameras
MOZA Air can support a wide range of cameras to motion timelapse video. All you need is to do first is to connect your camera to the gimbal with control cable and optional adapter.
Steps to Create Advanced Motion Timelapse with MOZA Air
Step 1: Mount the MOZA Air
Balance the camera on the MOZA Air and secure it on a tripod on a stable surface.

Step 2: Connect your camera to the gimbal
Use included control cables to connect the your camera to the gimbal.

Step 3: Connect the MOZA Air to the APP
Turn on Bluetooth first. Then open the MOZA Assistant App on your phone. Slide the product menu in the App to choose the MOZA Air. Click "Search", the App will detect your gimbal automatically. Choose your gimbal to connect.
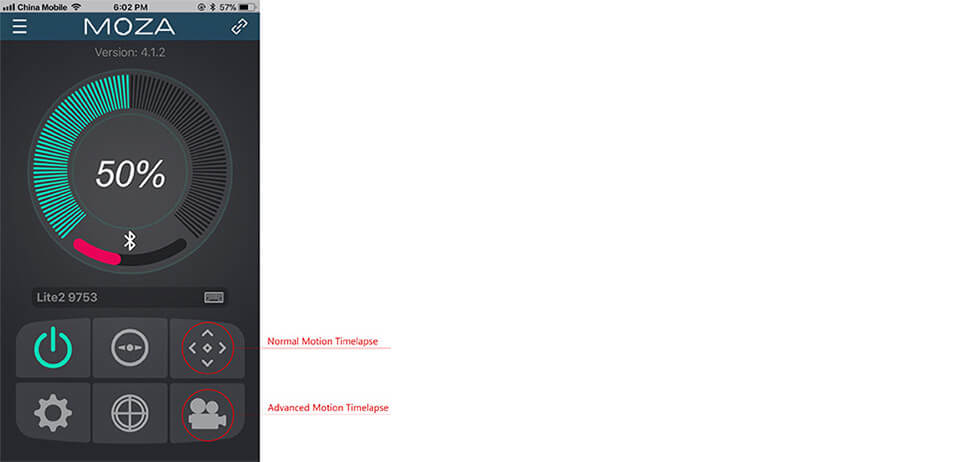
Step 4: Enter the Timelapse Mode to Set.
Click the low right icon as shown above to enter the Timelapse interface, click SETUP icon to set relevant parameters.
Step 5: Set Shutter Interval, shutter duration and fps
Parameters below need to be set, including:
1.Shutter Interval: the interval between two successive shutters (Shutter intervals=shutter duration+1 second=camera shutter time+2 seconds);
2.Shutter Duration: duration time from triggering the shutter to camera exposure(which should be longer than the maximum exposure time set in camera)
3.Target Clip FPS: the final synthesis fps of motion timelapse
4.Target Clip Length: the total time spent for the entire motion timelapse.
Step 6: Set Path
Click "Path" icon to enter the following path setting interface. Set the key frame (target position) through the app interface or the joystick of the handgrip, move to the desired point and click ADD icon after confirmation, which will be added to the final path, the next key frame successively till all the key frames ions are complete (at least two and up to eight key frames need to be ed, 5 key frames are ed as below, and curve fitting mode for pitch axis and linear for yaw).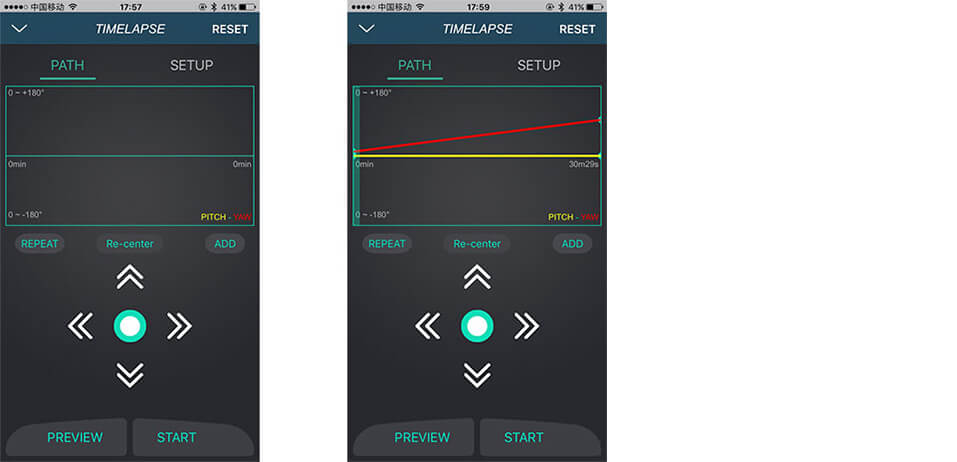
Step 7: Preview and Complete
Click 'Preview' to confirm the gimbal’s movement or 'Start', to begin the time-lapse.
What's in the box
faqs
| Q1.What should I do if the gimbal vibrates, spins, or is not level? |
| 1. Run the Gyroscope/Accelerometer Calibration carefully. When you calibrate, please mount the gimbal as the tutorial shows and keep the gimbal horizontal and still. |
| 2. Disconnect the camera connected to your gimbal, then restart your gimbal. |
| 3. Remount the camera on your gimbal, and readjust the balance on all of the three-axis. |
| NOTIFICATION: |
| Please refer to the calibration video. |
| Please turn on the electronic level to help you finish the calibration. |
| Q2. How do I check my gimbal version? |
| Go to the Moza Assistant(on the phone) and connect with your gimbal, then go to the device page where you can find the gimbal version. |
| Q3. How do I trigger shutter/Timelapse for Air with a Panasonic GH4/5 camera? |
| This requires an optional Panasonic Shutter for trigger shutter/Timelapse. Please refer to |
| https://store.gudsen.com/products/gh-shutter-cable |
| After the Camera is connected with the gimbal, please set the camera model to OTHER on MOZA Assistant APP. |
| Q4. Is the Air compatible with Canon 5D Mark IV? |
| For Air + Canon 5D Mark IV, please use Mini to Micro USB cable + C2 Shutter Control Cable to connect. |
| You can refer to the below cables: |
| https://store.gudsen.com/products/c2-shutter-control-cable |
| Q5. How do I connect the gimbal to a PC or a Laptop (Windows or PC)? |
| Download the Moza Assistant software for desktop on our official website. Make sure you have installed the driver on your laptop before you begin the steps below. |
| Steps: Enter booth mode on the gimbal->connect with USB between gimbal and laptop->open Moza Assistant. |
| Q6. What should I do if it says ‘device not found’ when connected with a laptop or PC (Windows or Mac)? |
| Double-check if you have downloaded the right software (Moza Assistant) on your laptop/PC, and if you have downloaded the driver successfully. Below is the order for how you connect the gimbal and your laptop/PC. |
| Steps: Enter booth mode on the gimbal->connect with USB between gimbal and laptop/PC->open Moza Assistant. |
| Q7. Can I use Air/Aircross with Sony A7iii/A7Riii and Moza thumb controller? Can the thumb controller support both shutter and record? |
| Yes, you can use Air/Aircross with Sony A7iii/A7Riii and Moza thumb controller for shutter, but unfortunately, it does not support record. If you can’t record and shutter, please check if you have the right mode (Alpha) on your Moza Assistant. |